LaurasPills

LaurasPills

giovedì 1 settembre 2016

Sunset in Paris

Hey you!


This is a second nail art using the nightscapes decals from Born Pretty Store. In the previous post I shown you the decals and how to use them.


This second nail art is a bit more complicated.
I wanted a sunset background and I wanted it to look like an impressionist's painting.
I applied a white colour as base.
I used a fan brush and different acrylic colours to recreate this effect.


I dipped the brush in differet shades: yellow, orange, peach pink and light purple.
I used the brush from one side to the next. You can repeat the process to layer and mix the shade until you have this "oil painting" result.

Then I applied the skyline decals the half of the nail and I filled the bottom of the nail until the cuticle with some black nail polish.

I sealed the design with some matte top coat.


You can find a similar fan brush here

http://www.bornprettystore.com/candy-colored-shaped-nail-brush-powder-glitter-acrylic-nail-p-9804.html


See you soon

Laura

Vintage rose nail art

Ciao!


This is the last nail art with the amazing products Born Pretty Store sent me.
They have a wide range of water decals but I completely feel in love with this pattern; it shows some delicate roses in two shades, a peach pink and an ivory white, on the background you can see some green leaves. The print is very detailed and it will look wonderful on long nails as well as short ones. 


You can use my coupon code at check out to get 10% off RASX31 on www.bornprettystore.com


This pattern will give a delicate and elegant touch to your style, perfect for weddings too, you could paint all of your nails with a peach pink shade and add the decals only on the accent ring finger.

The waterdecals are protected by a trasparent sheet. You can select the size and the design you want, cut it with a scissor. Don't forget to remove the plastic sheet.
Now you can plunge it into water and wait for 10-20 seconds.
The design will separate from the paper, and it's ready to use.
The instructions suggest to place it on  the nail and blow dry. (I skipped the last part because it's very hot today and the design dried fast). The last step is to secure it with clear nail polish.

Even if your nails are quite long you get enough product to cover all of your ten nails. 

I decided to do something more creative with it!

I used a light nail polish as base on the thumb, index and ring finger. 

Then I applied the water decals on on the entire nail.


On the middel finger and pink I applied a dark green colour and I added a stamping nails art in gold, a rose pattern that matches the water decal. The stamping plate is from MoYou London, Flower power collection plate 04.


I wanted to add a sparkling touch to the entire look so I painted a line on the side of the thumb and middle finger in gold, then I used a iridescent green paper to create a broken glass effect. ( I used a gift paper wrap).


This is the result. I hope you like it.

Thanks for reading 

Laura


mercoledì 31 agosto 2016

New York Nightscape graffiti nail art!

Hi again!


as you know a few days ago i received a nail mail from Born Pretty Store. They sent me some items for a review and I always get inspired by their products.
The company let me choose amog a large range of nail decals and I was struck by the beauty of these nightscape decals.
Whithin one sheet you have four city landascapes (Barcelona, Tokyo, New York and Paris) and each has 3 different versions: one in black, one minimalistic with a black line and a colourful one.
They work well on light colours as well as dark ones.


You can use my coupon code at check out to get 10% off RASX31 on www.bornprettystore.com

I tried the coloured skyline of New York over a white polish and the result is stunning, I did a small and easy nail art on the index finger: with a small brush I applied a small amount of acrylic paint, i used the same shades of the decals and I applied the little "NY" written. 


I have cut some stripes horizontally and placed them on the nails.
 Once you have cut the design you have to remove the plastic top.
This step is very important because if you don't remove the plastic film you will have an unusable water decal.
Soak the piece of the pattern in water for few seconds and then remove the decal off the backing.
Place it on the nail, smooth the surface and be careful, you might create some air bubbles. It's a good tip to dab the eccess of water with a tissue (or you can blow dry).
Seal the design with a clear top coat.
You can cut the eccess of the decal with some scissors or remove it carefully with a small brush and some nail polish remover.

I hope you like this nail look!

Have a nice day


Laura

lunedì 29 agosto 2016

Colour changing nail art with hidden floral decoration

Hello!
today it's time for a phototutorial.


Few moth ago I received a set of nail polishes as a prize, the nail polishes are from an indie brand called Parrot Polish. These shades were expecially created for the contest! This company was founded in 2014, and it is family owned. Their nail polishes are wonderful and 100% cruelty free and 5-free marker, they offer a wide range of colours. finishes, and also some thermal polishes! You can have look at their site here:
http://www.parrotpolish.com/home.html

It took me bit to realize that one of the shade they sent me was a thermal colour changing shade, what a wonderful surprise! They called it "exclusive real".When your hands are cold or the weather outside is cool the nail polish has a beautiful dark magenta colour but when your hands are warm it turns into a sheer pink nude shade.

Since the shade is sheer I tought it was a good idea to create a two layers nail art. So when the nail polish turns clear it will reveal the nail art underneath.

Step 1
Apply a white sheer base coat


Step 2
when the base is dry, stamp a floral patter (this is from MoYou London flower power 04.
I used a dark pink shade, dark enough to be visible but not too dark when the polish turn into a magenta shade). For a more pecise placement I used a clear stamper, in this way I was able to where to put the design.


Step 3
When the floral design is dry, add two layer of the thermal polish.


Step 4
Second stamping layer in white. This last layer will be more visible when the polish will turn dark.


Step 5
For the rest of the nails I used a glitter gray polish


This is the result. The temperature in Italy is very hot so I had to use cold and warm water. I really like the transition effect too. If your nail are long and the temperature is mild you will get this effect because the nail's tips are cooler when exposed to air.


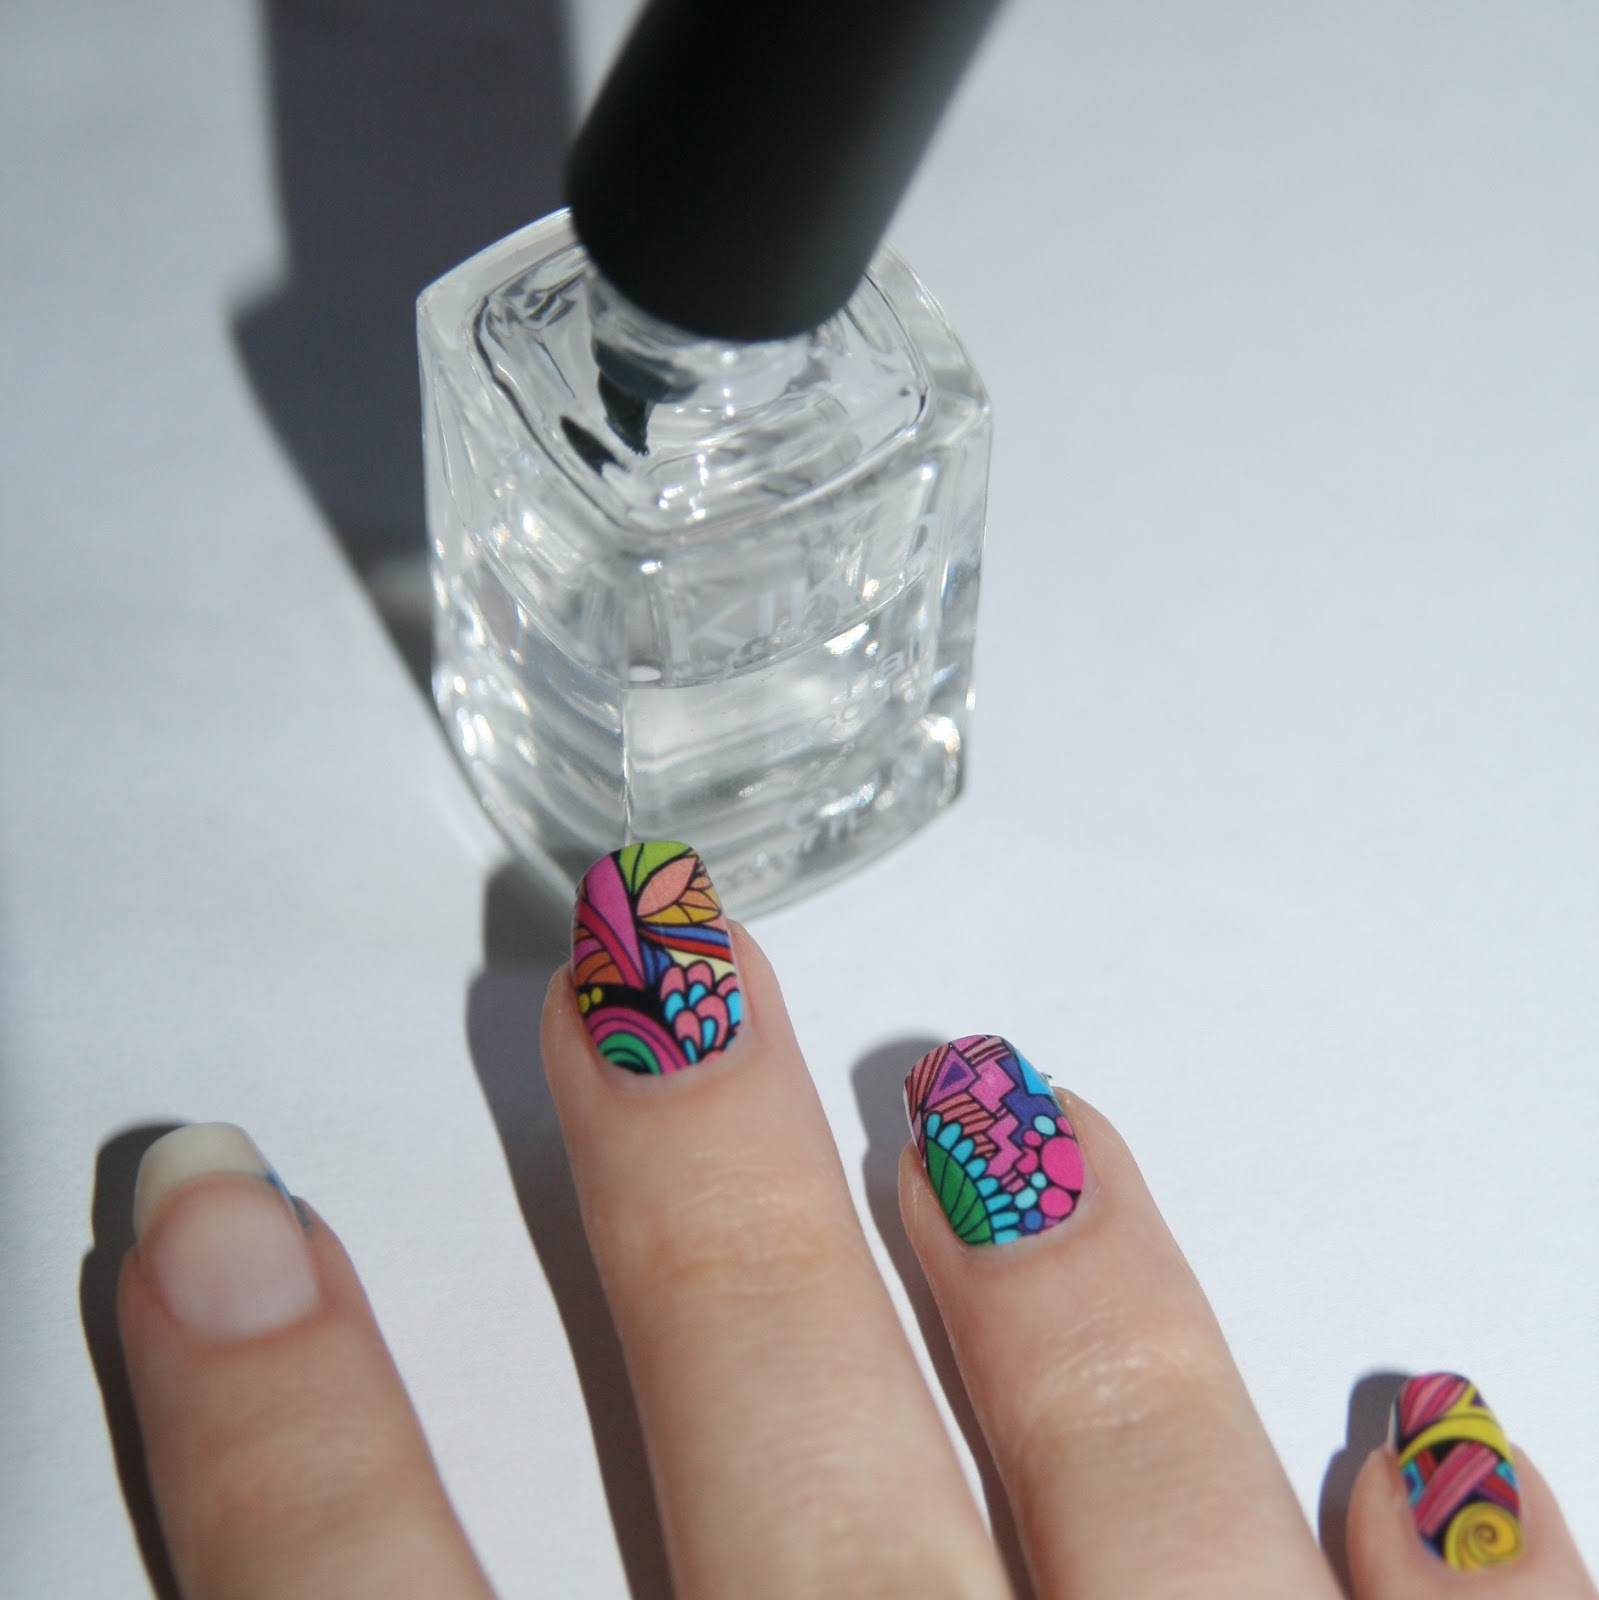
For this nail art the clear gelly stamper was essential because I needed to see exactly where to place the design. This kind of stamper allow you to see throught, the head is transparent and it has a hollow tube holder. I found it very useful when you have to stamp small designs on the side or the center of the nail.
The head is bit more firm than a marshmallow stamper. It's easier to pick up the image with a small pressure and roll movement.
As you can see from pictures it stamps very well and it come with a small scraper. I got mine from Born Pretty Store and you can find it at this link:

http://www.bornprettystore.com/2pcsset-clear-jelly-nail-stamper-clear-silicone-marshmallow-nail-stamper-scraper-pink-stamper-p-24130.html


You can use my coupon code at check out to get 10% 

off RASX31 on www.bornprettystore.com


venerdì 26 agosto 2016

Cocktail nail art


Hi there?
How is your summer going? Mine has been hot and lazy. 
I didn't feel like doing something too difficult and elaborated on my nails so I thounght it was the perfect occasion to try this sheet of water decals nail stickers.


Few days ago I have received a package from Born Pretty Store, I had a few collaborations with them in the past and I love their nail products because they are affordable and they offer a wide range of design and colours. They sent me these items for reviews and I really like them and I would purchase them myself.

You can use my coupon code at check out to get 10% 

off RASX31 on www.bornprettystore.com


I chose the pattern number 2542, it is a tribal floral design very colourful and bright (there are some others beautiful pattern available).
I find this kind of supplies very useful when you are in a rush or you run out of ideas. As you can see from pictures you have enough decals for covering all your ten nails.

 This kind of decals are meant to cover the entire nail so it's always better to use a base, a neutral colour or as in this case, a colour that can make the decal stand out.
In my opinion the best choice for this one is a white nail polish.

Then you can cut the decals in a shape that match your nails and remove the plastic top.

This step is very important because if you don't remove the plastic film you will have an unusable water decal.

Soak the piece of the pattern in water for few seconds and then remove the decal off the backing.

Place it on the nail, smooth the surface and be careful, you might create some air bubbles. It's a good tip to dab the eccess of water with a tissue (or you can blow dry).


Seal the design with a clear top coat.


You can cut the eccess of the decal with some scissors or remove it carefully with a small brush and some nail polish remover.


As you can see, not all my nails are covered with the pattern. I decided to cut some small circles with a hole puncher (the common one you use for documents) and I applied them over a layer of a coral red polish.


This colourful and bubbling effect reminded me of a cocktail so I decided to make a cool one and pose for some pictures.
Let me know if you like it or not!


Best wishes 


Laura