LaurasPills

LaurasPills

martedì 8 settembre 2015

Bright nail art with water decals!


Hello everyone!
Summer is almost ended! Even thought it's raining right now I still feel in the mood for colourful nail art!
So today I have some Born Pretty Store decals to review for you.
This product was kindly sent by the company.

You can use my coupon code at check out to get 10% off RASX31 on www.bornprettystore.com

Even if I love doing my nail art with stamping tools or free hand I am always looking for new ways to make cool designs easly and quickly. With these nail decals you can achieve a big effect with a small effort.

This sheet of water decals is very particular and graphic, the shades are lovely and bright they shift from yellow, green, orange to a nice red.


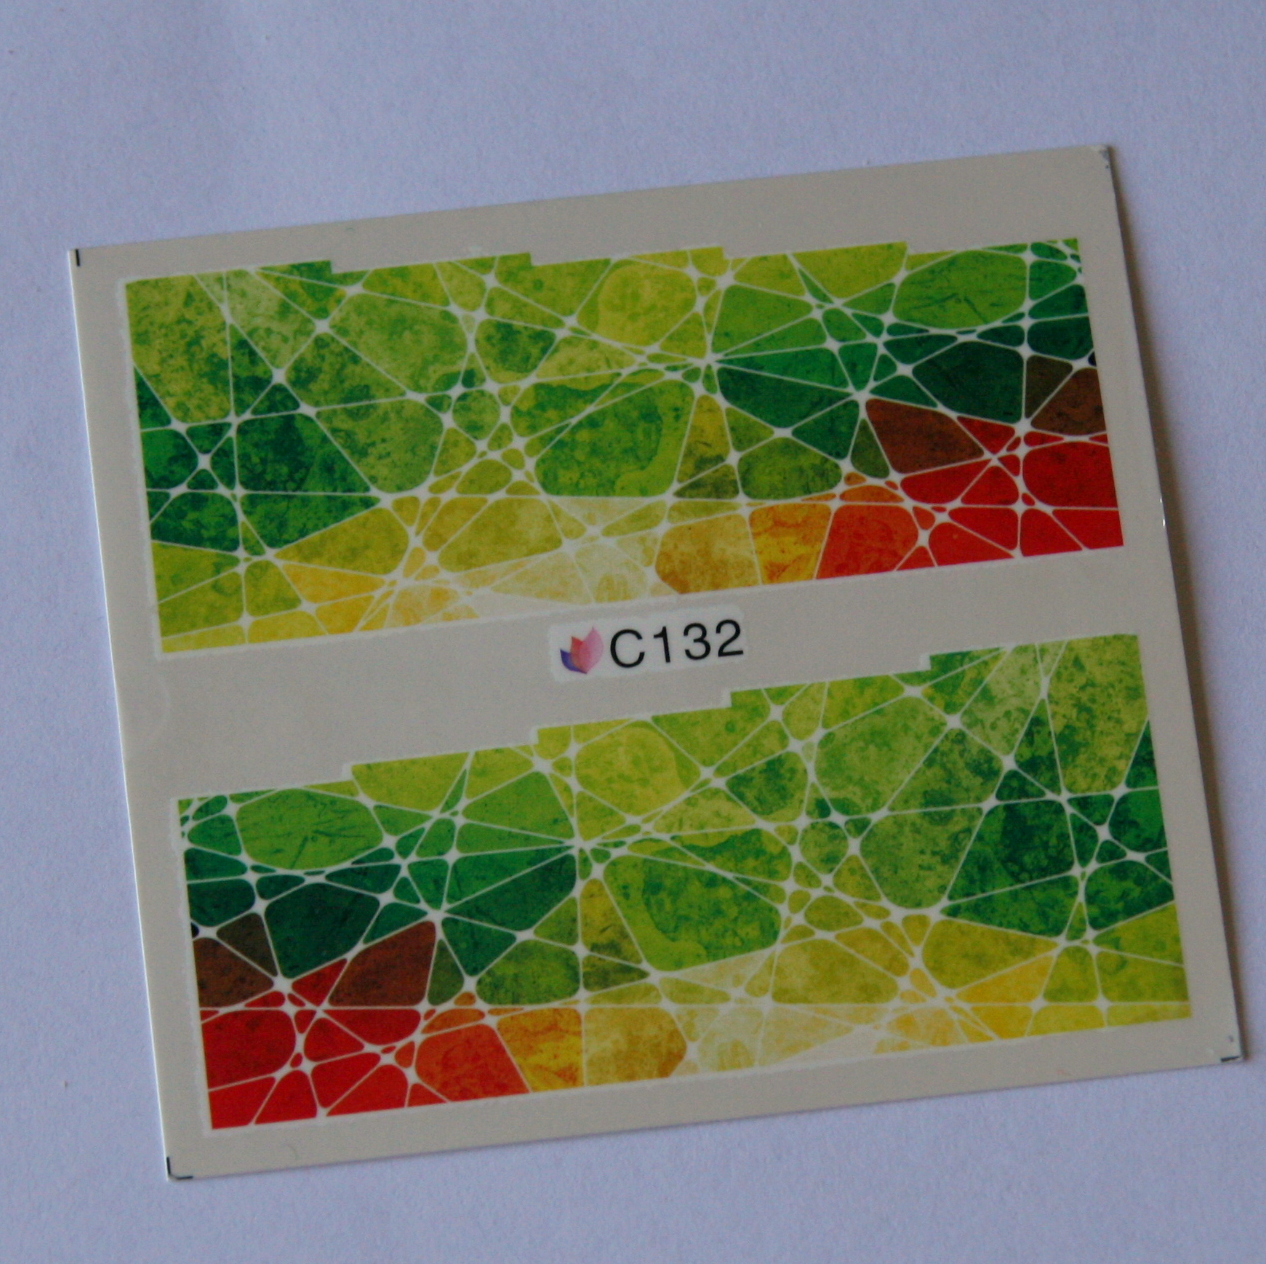
You can find it at this link
 http://www.bornprettystore.com/sheet-irregular-pattern-water-decals-gradient-color-nail-transfers-stickers-p-21457.html

How to use:

This kind of decals are meant to cover the entire nail so it's always better to use a base, a neutral colour or as in this case, a colour that can make the decal stand out.
In my opinion the best choice for this one is a white nail polish.

Then you can cut the decals in a shape that match your nails and remove the plastic top.
This step is very important because if you don't remove the plastic film you will have an unusable water decal.

Soak the piece of the pattern in water for few seconds and then remove the decal off the backing.

Place it on the nail, smooth the surface and be careful, you might create some air bubbles. It's a good tip to dab the eccess of water with a tissue (or you can blow dry).

Seal the design with a clear top coat.
You can cut the eccess of the decal with some scissors or remove it carefully with a small brush and some nail polish remover.

I hope you'll love the result!


That's all for now!
Bye

Laura

sabato 5 settembre 2015

Silver and blue star nail art!


Hi readers!
Few days ago I received some items from Born Pretty Store.
I've never used vinyls stickers so I was quite curious to try and see how they will work..
If you are a newbie in nail art this kind of products are the best because the design is already made and you don't have to be too precise.


They sent me the stencil number NK 03 which contains 12 stencil: 6 with some stars and other six with a leopard print (you can find many other patterns in their site).

You can use my coupon code at check out to get 10% off RASX31 on www.bornprettystore.com


For this nail art I decided to go for the star pattern.


How to use:
First of all you have to apply a base colour.
You can cut the section of the stencil you want to use, remove the transparent paper and stick it on the nail. (Please remember the nails polish have to be completely dried). The stencil is sticky, it will stay on perfectly.


At this stage you can apply a layer of nail polish. But I did something different. I used a make up sponge to dab some colours on the stencil. In this way you can apply the right amount of nail polish and prevent it from smudging moreover you can create an easy ombrée effect with different shades (as I did on one finger mixing pink, blue and purple).


Remove carfully the sticker and finish with a layer of top coat.

For the last touch I used some 3D decoration: these five pointed gold stars I painted in blue to match the nail art.


These kind of decorations are very versatile, they are perfect on the top or the bottom of the nail, there are other 4 colours available: gold, glittery white, white anf black. You can use them to decorate any kind of object and you can glue them on nails with some clear nail polish.


Thanks for reading,


Laura