LaurasPills

LaurasPills
Visualizzazione post con etichetta nailartvideo. Mostra tutti i post

martedì 2 gennaio 2018

Bokeh effect nails


In photography, bokeh is the aesthetic quality of the blur produced in the out-of-focus parts of an image produced by a lens. Bokeh has been defined as "the way the lens renders out-of-focus points of light".


The term comes from the Japanese word boke (暈け or ボケ), which means "blur" or "haze", or boke-aji (ボケ味), the "blur quality". The Japanese term boke is also used in the sense of a mental haze or senility.[8] The term bokashi (暈かし) is related, meaning intentional blurring or gradation.

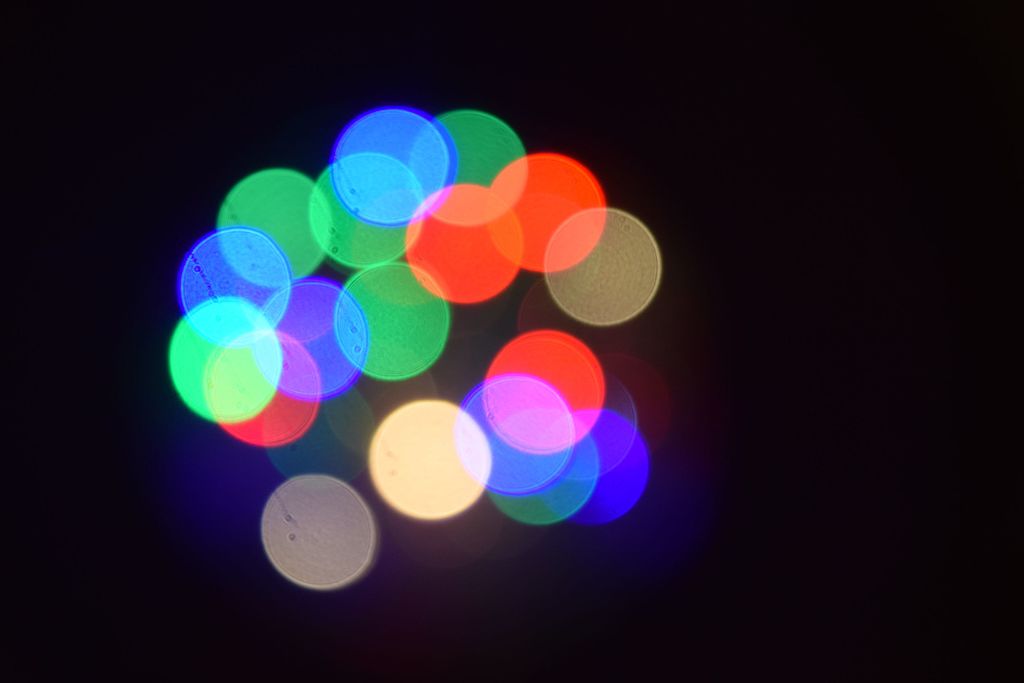
This an exaple of bokeh effect in a photo  


This are the pictures I took inspiration from for this nail art!

Immagine correlata

Immagine correlata


To recreate this effect I only used two brand new products from Born Pretty Store.

http://www.bornprettystore.com/born-pretty-color-nail-sequins-flower-heart-star-butterfly-round-flakies-glitter-paillette-p-41223.html

https://www.bornprettystore.com/born-pretty-holographic-silver-nail-flakies-round-nail-sequins-glitter-paillette-p-39819.html


Here is a small video that I have filmed to show you the entire process:


I started placing the holographic round sequins first.


The jar contains 3 sizes of rounded sequins 3 mm, 2 mm and 1 mm. The shade is very particular between a silver and a holographic effect. The reson why I started with these sequins is because they are more light and reflective so they will give brightness to the bokeh effect.

Then I added these second kind of sequins.


  This second kind of sequins is made with a translucent foil (I think the one used for laser or broken glass nail art). There are 3 sizes mixed: 3mm in a green shade, 2 mm in a red shade and 1 mm in a blue purple shade.

These last item is the trick to give the nail art a realistic bokeh effect.
I place all the sequins  on wet black nail polish with a dotting tool. I try to concentrate the bigger one on the center and smaller and disperse  toward the cuticles and tips of the nails. You don't have to be too precise, if some of the dots overlap a bit is even better.

There are also others shapes avaible such as flowers, stars, hexagon, hearts, butterflies, squares.

Maybe next time I will try to recreate one of these effects:

Risultati immagini per bokeh effect shapes pinterest

Risultati immagini per bokeh effect hexagon


martedì 17 ottobre 2017

Holographic Nail Powder Super Shine


Hello!
This week is full of nail art reviews!
I really love holographic powder! It is such versatile invention, you can mix it in your favorite polish, use it in a top coat, dab it and cover the entire nails, you can do french nails and so on.!
I am always excited to try new powder and textures,

Few days ago I tried this new powder from Born Pretty Store. This was part of a pr sample that the company sent me.


You can find this product at this link:
http://www.bornprettystore.com/born-pretty-holographic-nail-powder-super-shine-sequins-manicure-nail-pigment-glitters-p-40866.html


I selected the colour b26 (an holographic silver shade) but on the site you have 10 colours, next time I will be very eager to try another colour such as red or green, perfect shades for Christmas.

It comes in a nice plastic container and a sponge applicator. The powder is quite flakie-like and the are dust is made up by fine glitters and bigger glitter.

I was curious to know how it looked like on nails so I decided to use it over a white base. As top coat I used a holo glitter top coat for two reasons: it will fill the gaps and it will enhance the holo refraction.
 I love the fact that is has a raw finish, similar to  sand, stucco, or rock like finish. This makes the look very unique! Another big pro of this kind of nail style is that glitters are very long lasting! You will have hard time to take them off!


Here is a small video to show the holo effect. I find it very difficult to capture with a camera the holographic effect, but believe me it is stunning in real life.


martedì 28 marzo 2017

Silver and blue geometric nail art!

Hi again!


As I promised you, here is a special nail art tutorial for you!
I had pretty much fun with this one, I used a ring set (see previous post) as my main inspiration!


The two main colours are blue and silver.


I wanted to recreate the geometric design that are engraved on the rings.
I love geometric patterns but they are really hard to draw free hand, you need a steady hand and plenty of time to work on it.
So I end up using this wonderful plate from Born Pretty Store that I have already reviewd in this post.


For the best result I suggest you to use a clear jelly stamper so you will be sure to place the image exactly on the center of the nail and the gometric look won't be ruined. 

I used the lates Clear Jelly stamper from Born Pretty Store.


The company send it to me for a review. It is 3.9 cm in diameter. It has a clear and resistant horder  and it comes with a plastic flexible scraper.
I can say with no doubt that it is best I have tried so far.


The first thing I noticed about this stamper is that it has a cap, this is a great idea because it is easier to store it, I'm always worried to damage the jelly head. It is a clear marshmallow head, very big and soft and it covers even longer and larger nails.
The most important suggestion I have for this kind of stamper is: "please do not primer it". You don't have to file it or mattify it with pure acetone otherwise you will make clear head foggy and unclear,
In my opinion the best way to clean it is with the help of some tape.


I've filmed some small videos that show you how this stamper works, how it picks up the image and transfers the design on the nail. It works perfectly.


I added a couple of rhinestones and studs similar to ones in the ring set.


I hope you like it!

Best wishes,

Laura