LaurasPills

LaurasPills
Visualizzazione post con etichetta Barry M Royal Glitter collection. Mostra tutti i post

martedì 2 gennaio 2018

Bokeh effect nails


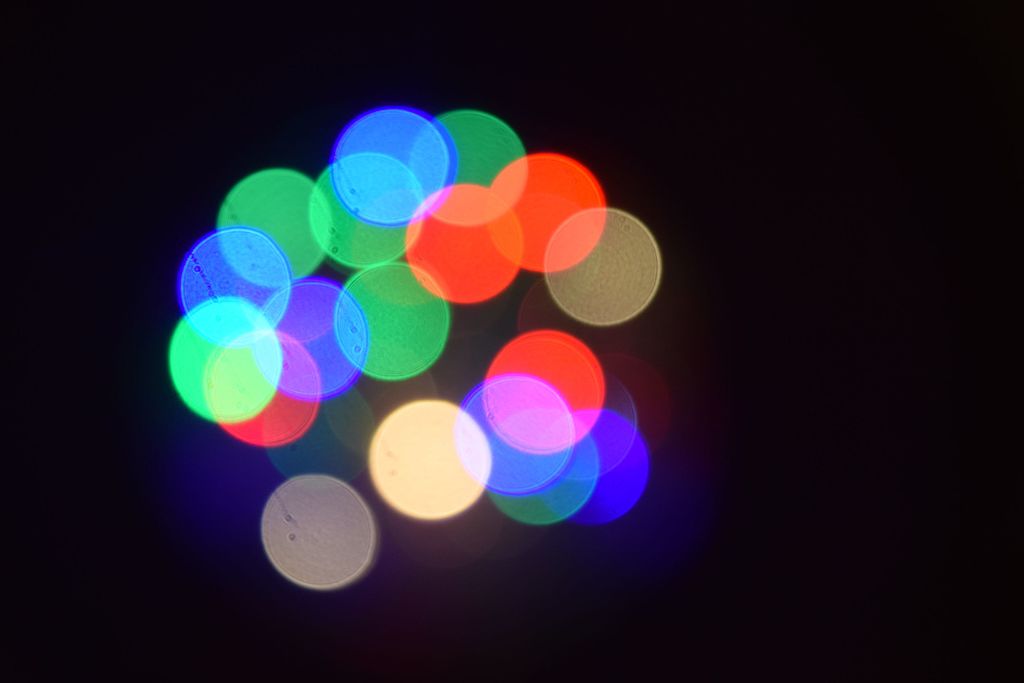
In photography, bokeh is the aesthetic quality of the blur produced in the out-of-focus parts of an image produced by a lens. Bokeh has been defined as "the way the lens renders out-of-focus points of light".


The term comes from the Japanese word boke (暈け or ボケ), which means "blur" or "haze", or boke-aji (ボケ味), the "blur quality". The Japanese term boke is also used in the sense of a mental haze or senility.[8] The term bokashi (暈かし) is related, meaning intentional blurring or gradation.

This an exaple of bokeh effect in a photo  
 

This are the pictures I took inspiration from for this nail art!

Immagine correlata

Immagine correlata


To recreate this effect I only used two brand new products from Born Pretty Store.

http://www.bornprettystore.com/born-pretty-color-nail-sequins-flower-heart-star-butterfly-round-flakies-glitter-paillette-p-41223.html

https://www.bornprettystore.com/born-pretty-holographic-silver-nail-flakies-round-nail-sequins-glitter-paillette-p-39819.html


Here is a small video that I have filmed to show you the entire process:


I started placing the holographic round sequins first.


The jar contains 3 sizes of rounded sequins 3 mm, 2 mm and 1 mm. The shade is very particular between a silver and a holographic effect. The reson why I started with these sequins is because they are more light and reflective so they will give brightness to the bokeh effect.

Then I added these second kind of sequins.


  This second kind of sequins is made with a translucent foil (I think the one used for laser or broken glass nail art). There are 3 sizes mixed: 3mm in a green shade, 2 mm in a red shade and 1 mm in a blue purple shade.

These last item is the trick to give the nail art a realistic bokeh effect.
I place all the sequins  on wet black nail polish with a dotting tool. I try to concentrate the bigger one on the center and smaller and disperse  toward the cuticles and tips of the nails. You don't have to be too precise, if some of the dots overlap a bit is even better.

There are also others shapes avaible such as flowers, stars, hexagon, hearts, butterflies, squares.

Maybe next time I will try to recreate one of these effects:

Risultati immagini per bokeh effect shapes pinterest

Risultati immagini per bokeh effect hexagon


venerdì 19 febbraio 2016

Ehi guys! Check out my elegant feather nail art tutorial for @nailitmag 

http://www.nailitmag.com/nail-art-how-to-elegant-feathers/

Elegant feather nail art


THINGS YOU NEED:


-      Kiko 3 in 1 matte base
-      Pupa Lasting color sheer white
-      Barry M Silk nail paint in Pearl
-      Barry M Royal Glitter collection in Lady ( sparkling glitters nail polish that looks like snow)
-      Barry M Royal Glitter collection in Duchess (sparkling glitters rose/pink undertone with silver glitters)
-       striping thin brush
-       make up sponge


STEP 1:


After using a clear base for all of your nails, start by painting your index and ring finger with the sheer white nail polish. Paint the other three nails with the Barry M silk white. This particular polish has a beautiful silk sheen, the white is pearlescent and almost matte. You can achieve a similar effect with an iridescent white and a matte top coat.


STEP 2:


After the base colour is dry, apply a mix of Barry M glittery nail paint in Lady and Duchess on the corner of a make up sponge. Dab the sponge from the cuticle area to the free edge. Repeat this step until you create a delicate gradient effect.


STEP 3:


Now it’s time for the feather design! With a striping brush and a white nail polish draw a simple curved line from the cuticle to the tip.


STEP 4:


 Start building the shape of the feather with some light strokes on each side of the line. You don’t have to be too precise, fill the gaps to create a feather-like effect.  Repeat the design on the ring finger, you can vary the position of the feather as you like.


STEP 5:

To enchancethe design I used the Barry M glitter nail polish in Duchess and placed it along the shaft of the feather. Don’t forget to seal your design with a top coat.