LaurasPills

domenica 9 luglio 2017


sabato 8 luglio 2017


martedì 20 giugno 2017
Pop art nail art!

This the coloured version of a nail art that I have done using a beautiful Born Pretty Store comics plate.


Click here to read the post and the review for this plate!
http://lauraspills.blogspot.it/2017/05/comics-pop-art-nail-art.html
If you want to achieve a supre colourful and pop art looking nail art you can a reverse stamping technique and add some eccentric and saturated colours.
This nail art was clearly inspired by Pop Art an art movement that emerged in the mid 1950s in Britain and the late 1950s in the USA. The movement wanted to challenge the tradition of fine art by promoting images from mass culture including advertising and comics books.
The artist Roy Lichtenstein selected old-fashioned comic-strip and he reproduced them in a larger scale.
I took inspiration from his paintings that feature heavy black outlines and primary colours.

I made a small stop motion video to show you how versatile this plate is:
I hope you liked it!
with love
Laura
Buttons for nail polish!
These are some silicone buttons that can be used on nail polish bottle's caps. The main purpose is to be able to find the color that you need quickly.
These are meant to be used with gel polishes which normally don't have sheer bottles.
I used them with regular polishes because I have a big collection that I store in drawers or boxes and I find useful to check all colours in a single glance.


This is the link where you can buy them, 1.99 for 25 pcs is a very good deal.
http://www.bornprettystore.com/10pcs-born-pretty-colour-buttons-polish-color-display-white-silicone-adhesive-paster-p-39376.html
These buttons are very easy to use, you paint each one with the polish you like and then apply them directly on the top of the cap, you don't need glue, each button is self adhesive.
Remember to paint the edges of the silicone button, in this way you will prevent the color to peel or crack. Be very gently when you apply it.
Here is a small video where I show how I applied it.

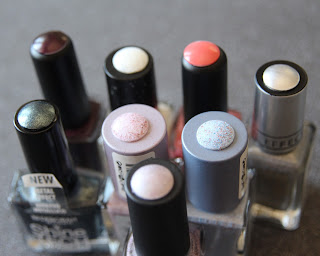
Look how the section with the buttons looks tidy and nice!

These are meant to be used with gel polishes which normally don't have sheer bottles.
I used them with regular polishes because I have a big collection that I store in drawers or boxes and I find useful to check all colours in a single glance.


This is the link where you can buy them, 1.99 for 25 pcs is a very good deal.
http://www.bornprettystore.com/10pcs-born-pretty-colour-buttons-polish-color-display-white-silicone-adhesive-paster-p-39376.html
These buttons are very easy to use, you paint each one with the polish you like and then apply them directly on the top of the cap, you don't need glue, each button is self adhesive.
Remember to paint the edges of the silicone button, in this way you will prevent the color to peel or crack. Be very gently when you apply it.
Here is a small video where I show how I applied it.
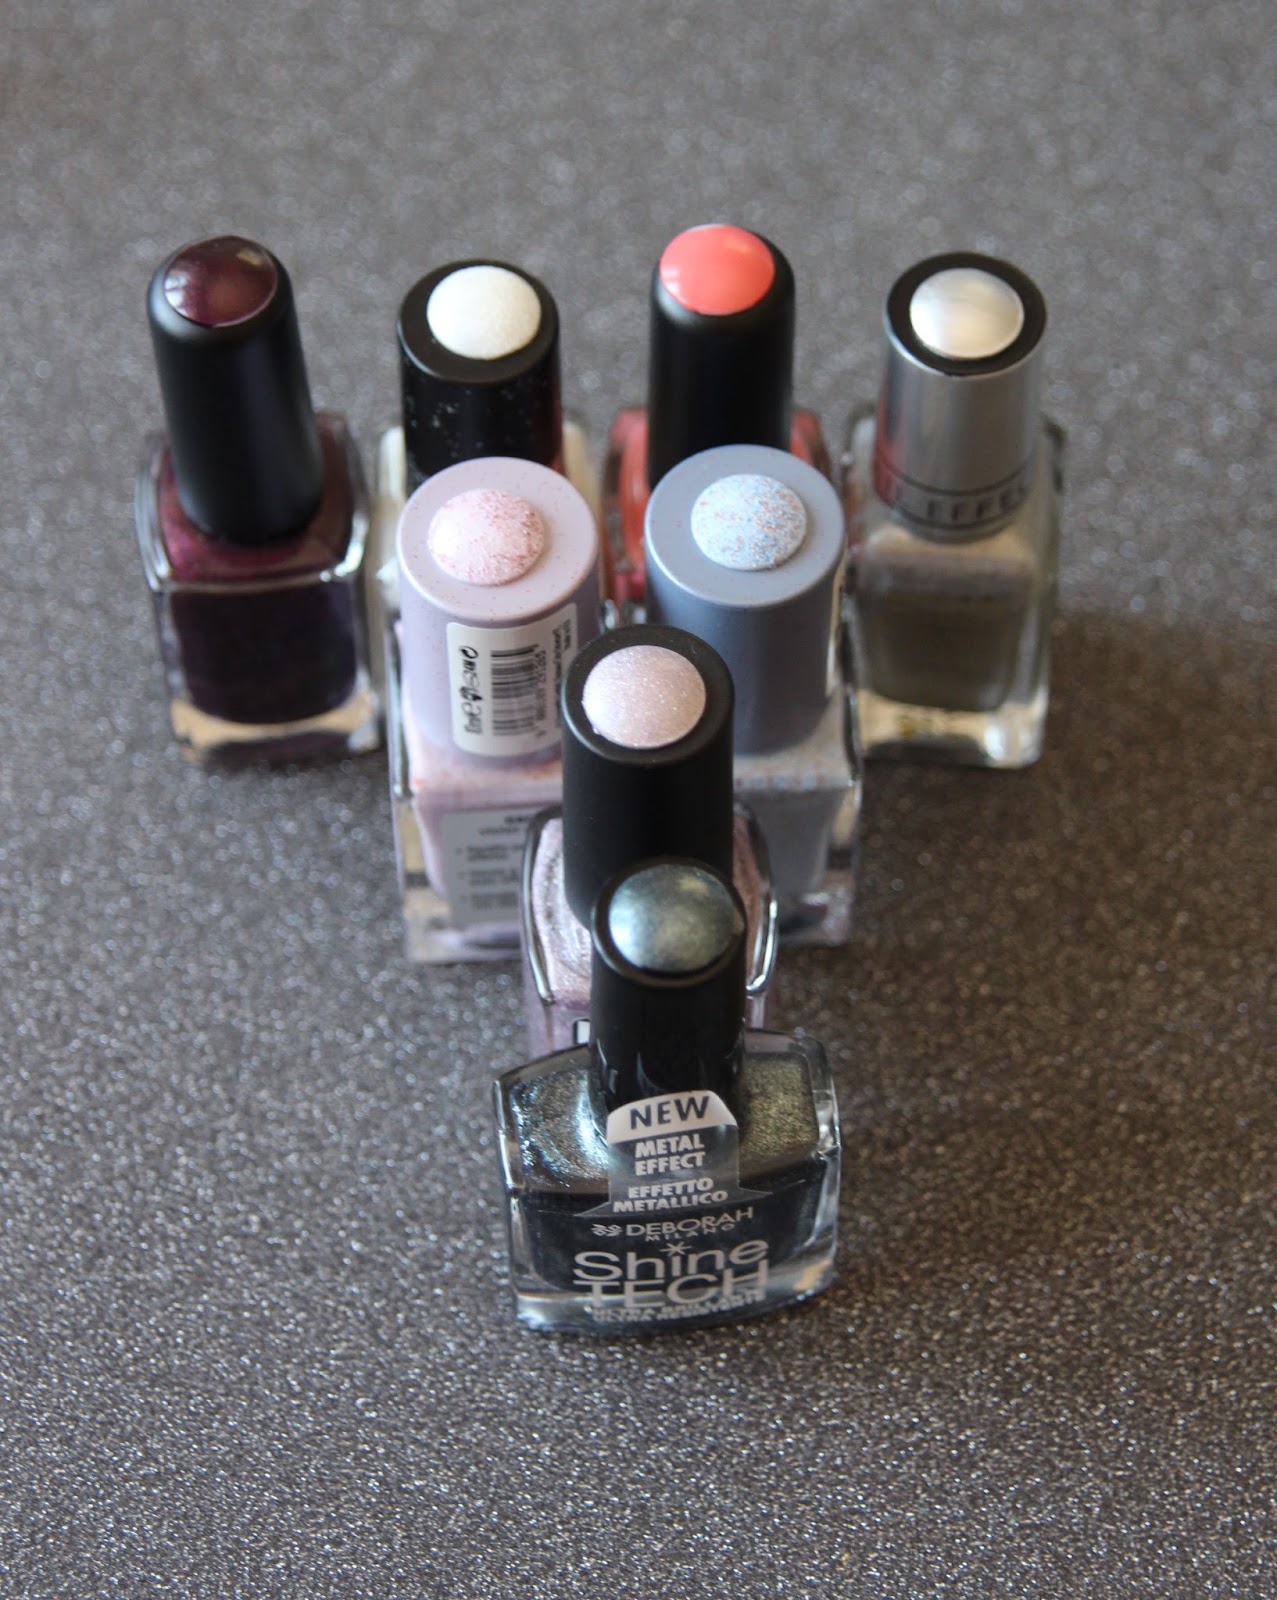

Look how the section with the buttons looks tidy and nice!

lunedì 19 giugno 2017
All over holo!
Let's be honest some days in a life are shitty as hell and in those days you need an extra sparkle.
Something able to capture every ray of light and trasform it in a beautiful rainbow!
What am I talking about? Love? Wine? Xanax?
Nahhhh! Holo powder!

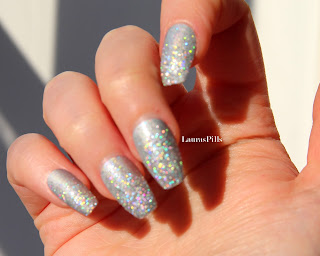
The Holo powder that I used for these nails is from www.bornprettystore.com
You can find it at this link
http://www.bornprettystore.com/holographic-glitter-powder-holo-glitter-dust-powder-manicure-nail-decoration-p-36930.html
for only 1.99 in different glitter sizes, the one I have is the finest one. It would be wonderful to try the bigger glitter too, maybe next time!


The holo dust comes in a transparent plastic container with the capacity of 3 gr.
It is very hard to capture with a camera the shifting magic of these kind of products! I don't know why but holo is very hard to get with full focus images so you need to take pictures or videos with the main subject out of focus.
You can believe me, under the sun light this powder is amazing.
I used a torch to show you the rainbow shifting in this video:
I used the powder over a holographic nail polish, I applied it only on the tip of the nails with a make up sponge.
Here is a small video tutorial:
Is your life still messed up? Yes?! But your nails are fabulous!
Something able to capture every ray of light and trasform it in a beautiful rainbow!
What am I talking about? Love? Wine? Xanax?
Nahhhh! Holo powder!


The Holo powder that I used for these nails is from www.bornprettystore.com
You can find it at this link
http://www.bornprettystore.com/holographic-glitter-powder-holo-glitter-dust-powder-manicure-nail-decoration-p-36930.html
for only 1.99 in different glitter sizes, the one I have is the finest one. It would be wonderful to try the bigger glitter too, maybe next time!
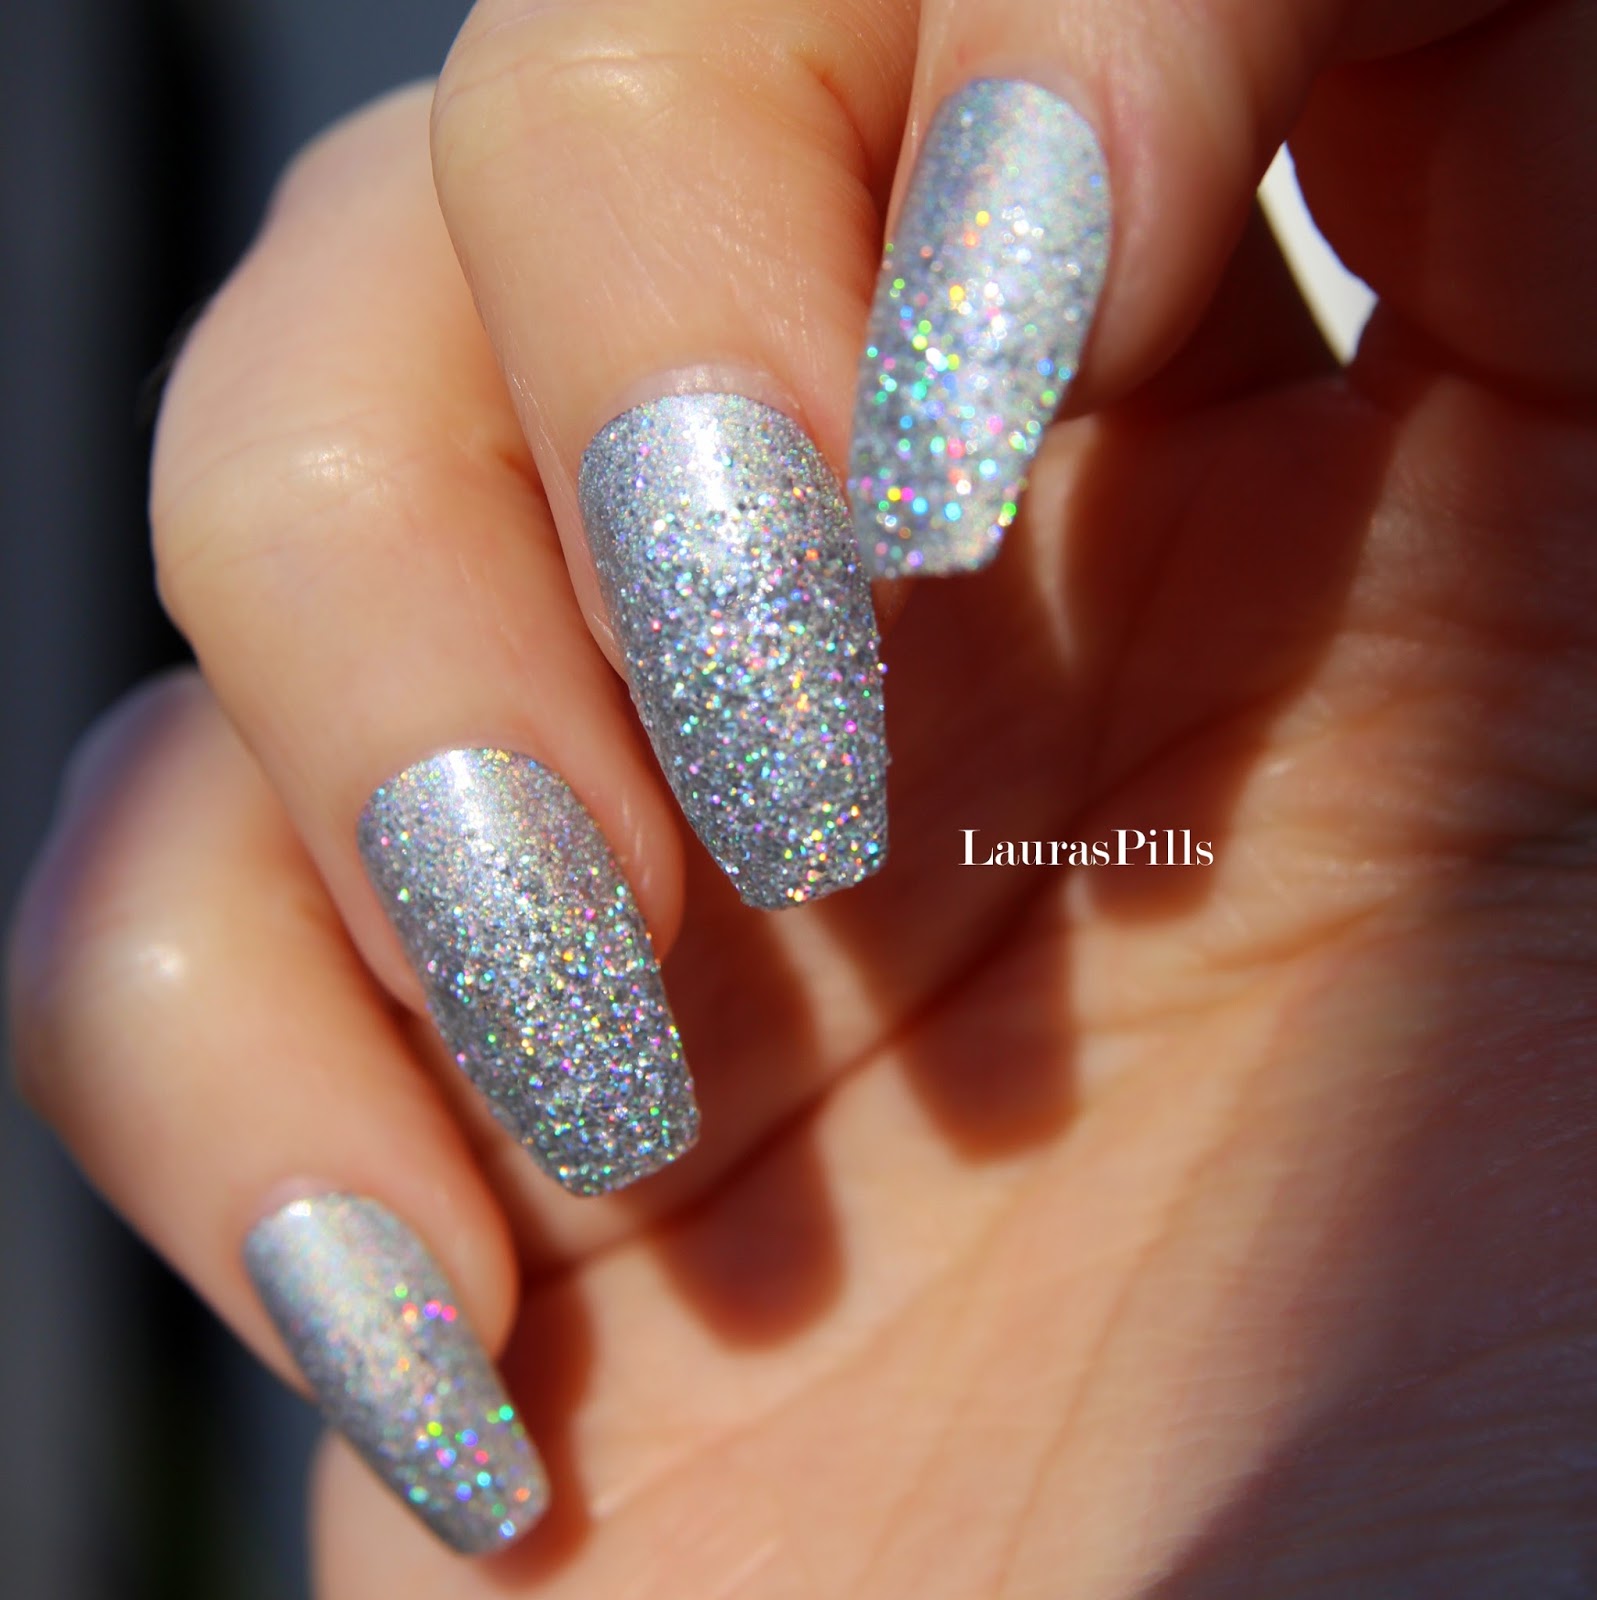

The holo dust comes in a transparent plastic container with the capacity of 3 gr.
It is very hard to capture with a camera the shifting magic of these kind of products! I don't know why but holo is very hard to get with full focus images so you need to take pictures or videos with the main subject out of focus.
You can believe me, under the sun light this powder is amazing.
I used a torch to show you the rainbow shifting in this video:
I used the powder over a holographic nail polish, I applied it only on the tip of the nails with a make up sponge.
Here is a small video tutorial:
Is your life still messed up? Yes?! But your nails are fabulous!
Iscriviti a:
Post (Atom)