Hello!
Today I would like to show you a nail art that is an attempt to get out of my comfort zone.
I really like spring but I am not a big fan of pastels colours on nails. I like them on darker skin tone but I don't think they suit my porcelain skin.
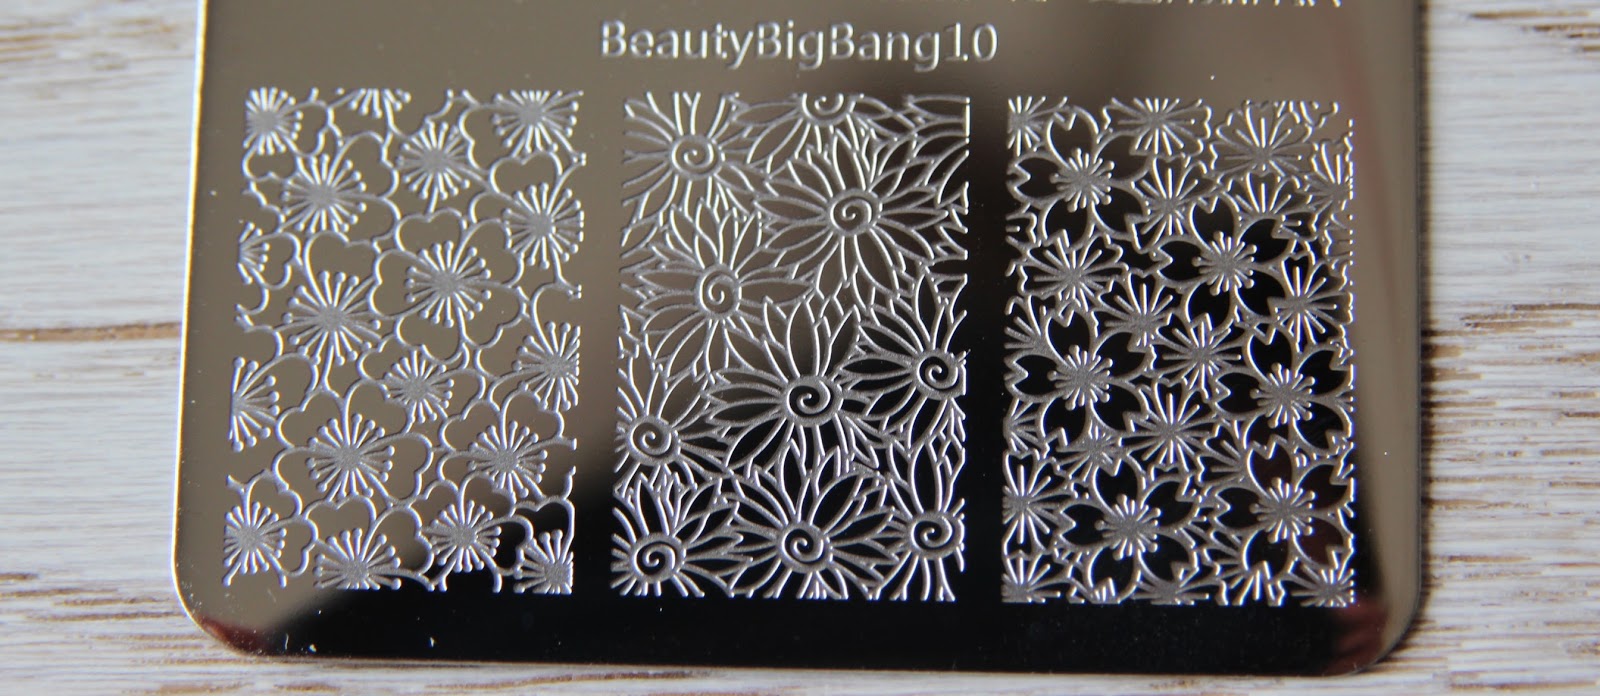
I received a beautiful plate from
Beauty Big Bang and I could not resist trying a floral spring nail art.
I reveal in advance that there will be a blog post all about this
wonderful floral plate (id code: J6 401TM-4A) that you can find at this link:
Ciao a tutti!
Oggi vi mostro una nailart che va un po' fuori dalla mia comfort zone.
Mi piace la primavera ma non vado matta per i colori pastello sulle unghie. Mi piacciono molto in contrasto con carnagioni scure ma credo non si accordino bene con la mia pelle di procellana.
Ho ricevuto una bellissima placca per stamping dal sito Beauty Big Bang e non ho resistito ad una nail art primaverile e floreale.
Vi anticipo già che ci sarà un intero post dedicato a questa placca per stamping a tema floreale (id code: J6 401TM-4A) ma ve la mostro nelle foto e vi dico che potete trovarla a questo link:
https://www.beautybigbang.com/products/sun-floral-nail-stamping-plate-rose-flower-pattern-nail-accessory
For this nail art I picked the two daisies designs. I think they are so flattering and delicate.
The most important tool for this nail art is the
Metal Nail Art Stamper & Scraper (id code: J2914TM-1A). I love stamping nail art and I am always eager to find tools and tricks that could make the process easier and faster.
I've tried a lot of clear stamper before and I think this one is great.
Da questa placchetta ho scelto le due immagini con le margherite. Creso siano delicate e femminili.
Ma lo strumento più importante per questa nail art è lo stamper trasparente in metallo .
Amo la tecnica stamping e spero sempre di trovare strumenti e segreti che rendano il processo più semplice e veloce.
Ho provato molti stamper trasparenti in precedenza ma credo questo sia molto buono.
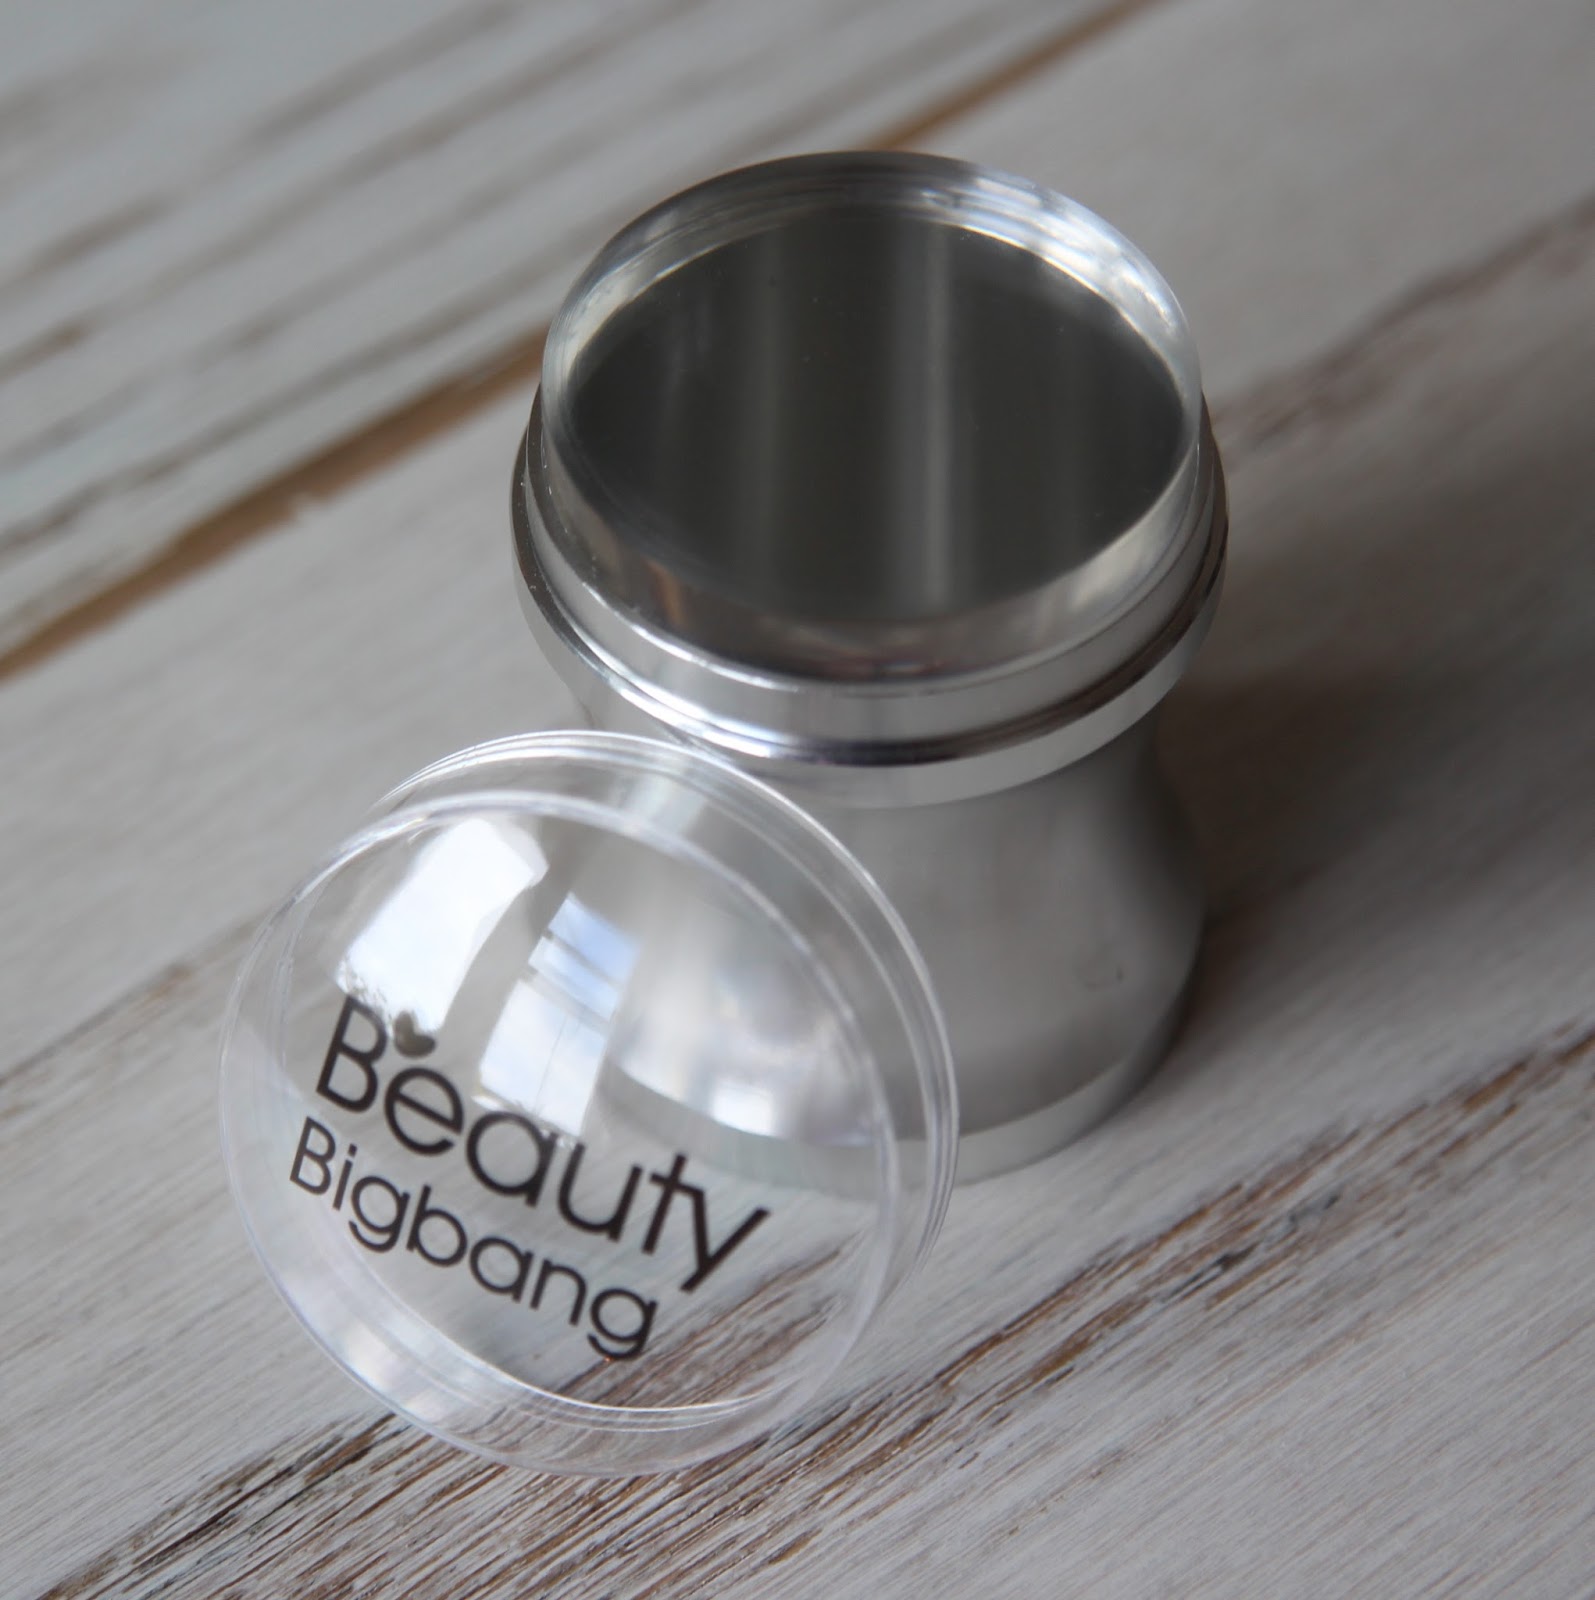
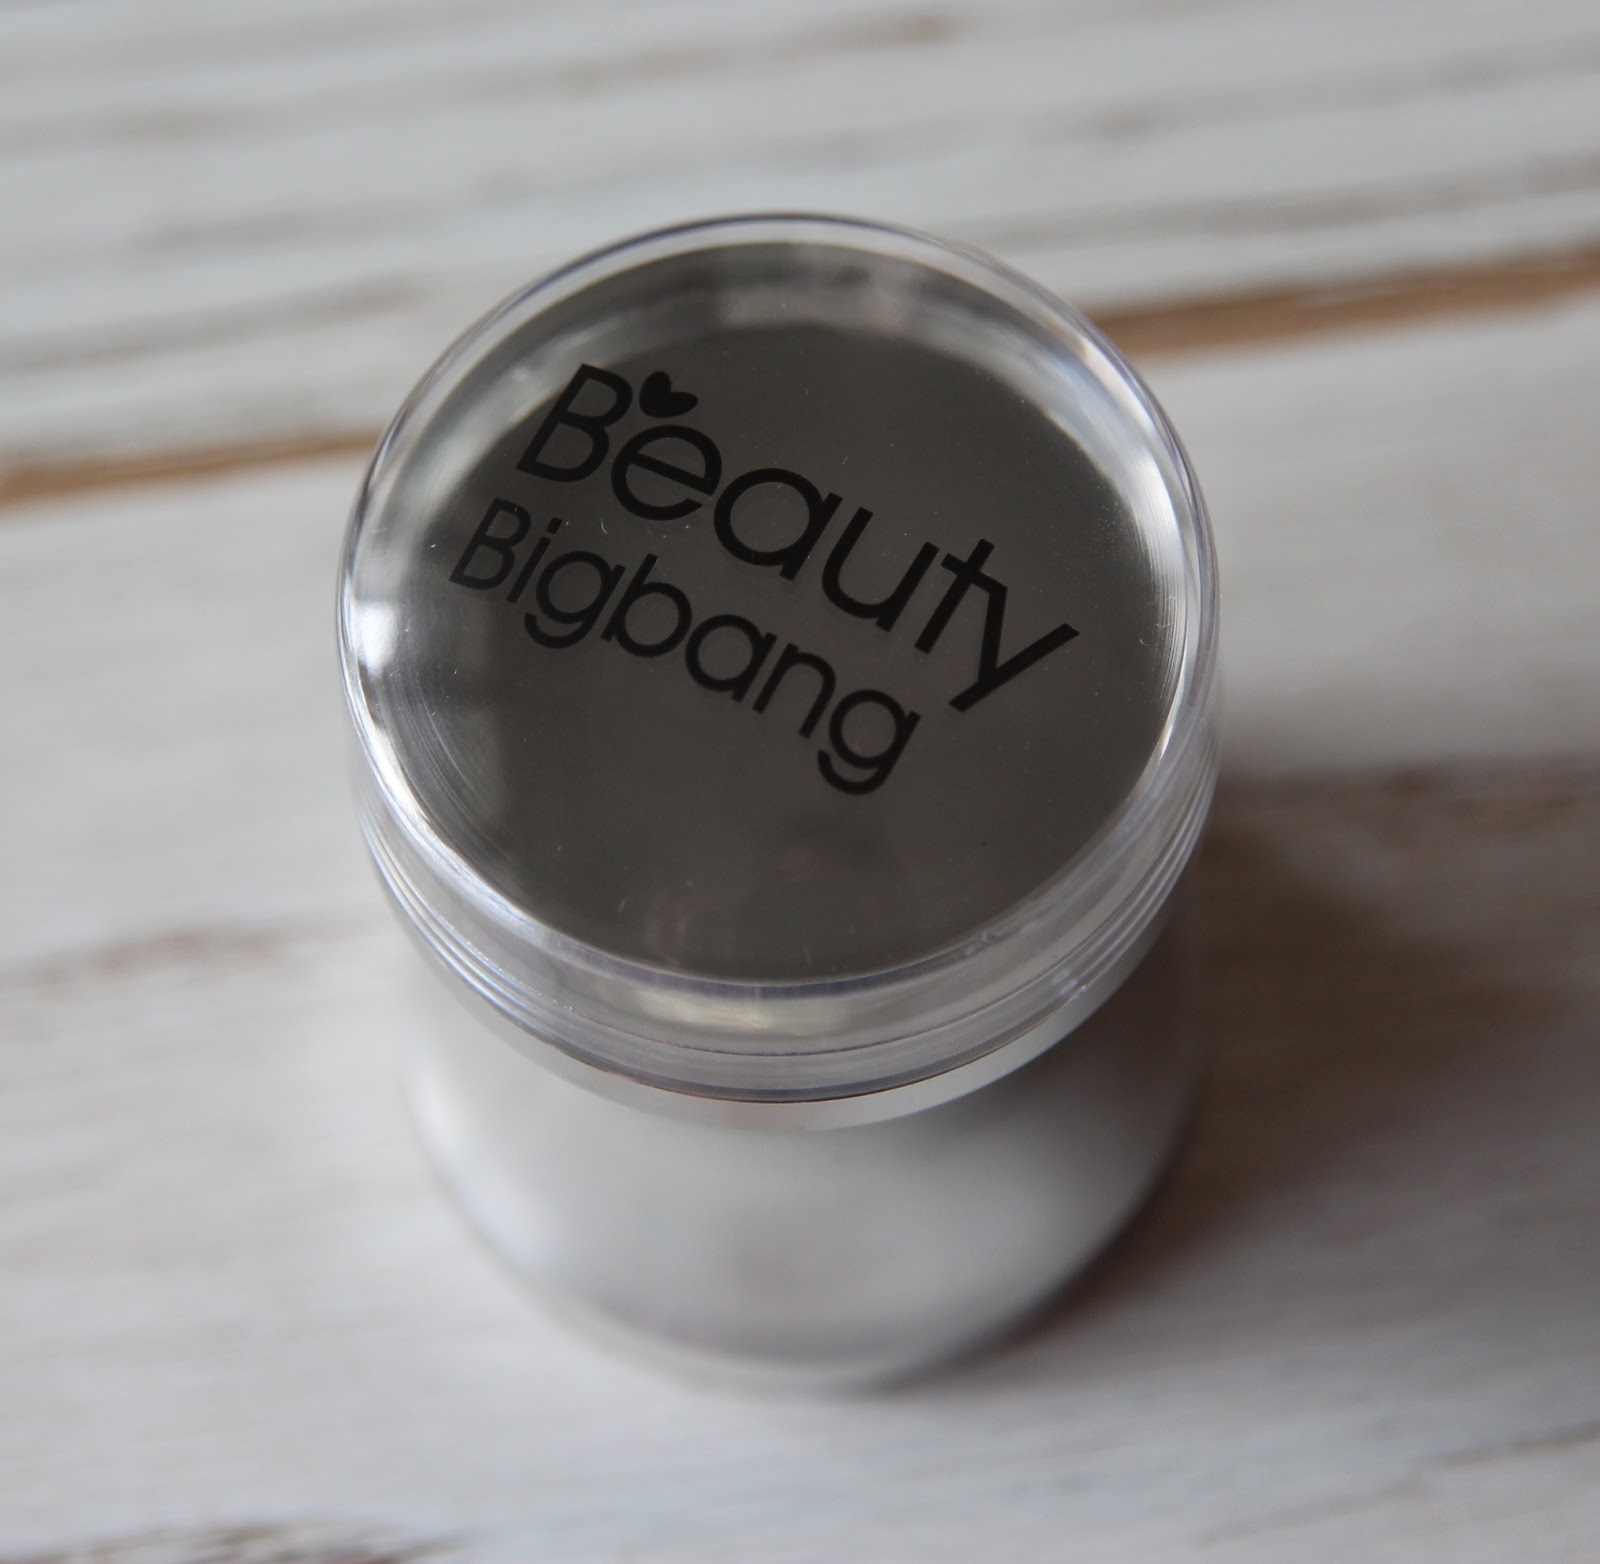
It is very large, it measures approx 4cm (1,5 inches), this means that you can use it for longer nails and larger designs. It has a nice cap with the brand logo that protect the jelly clear head. This is a great idea because it is easier to store it, I'm always worried to damage the jelly head. The plastic head looks resistant and very soft at the same time, so it will follow even the most curved nails.
To tell the truth the first thing I noticed about this stamper is its holder, it has an ergonomic design so you can easly grip it.
It is in metal and you can even choose between more colours: Gold,Pink,Silver,Blue.
You can find it at this link:
https://www.beautybigbang.com/products/2pcs-set-jelly-nail-art-stamping-metal-stamper-scraper-nail-seal-stamp-tool
If you want to give this product a try, you can use my discount code LAURA for 10% off the entire site www.bigbangbeauty.com
E' più grande della media, misura 4 cm circa, questo significa che potrete usarlo senza problemi per unghie molto lunghe e immagini più grandi.
Ha un cappuccio di protezione per la parte molle dello stampino. La trovo una trovata utile e geniale, mi permette di conservalo con facilità senza paura di danneggiarlo.
La parte in plastica jelly sembra molto resistente e morbida allo stesso tempo, così da seguire la curvatura naturale delle unghie.
A dirla tutta, la prima cosa che mi ha colpito di questo stamper è l'impugnatura ergonomica che facilita la presa. E' in metallo e potete persino scegliere tra vari colori: oro, rosa, argento e blu.
Lo potete trovare a questo link:
https://www.beautybigbang.com/products/2pcs-set-jelly-nail-art-stamping-metal-stamper-scraper-nail-seal-stamp-tool
Se volete provarlo potete usare il mio codice sconto LAURA per il 10% in meno in tutto il sito www.bigbangbeauty.com
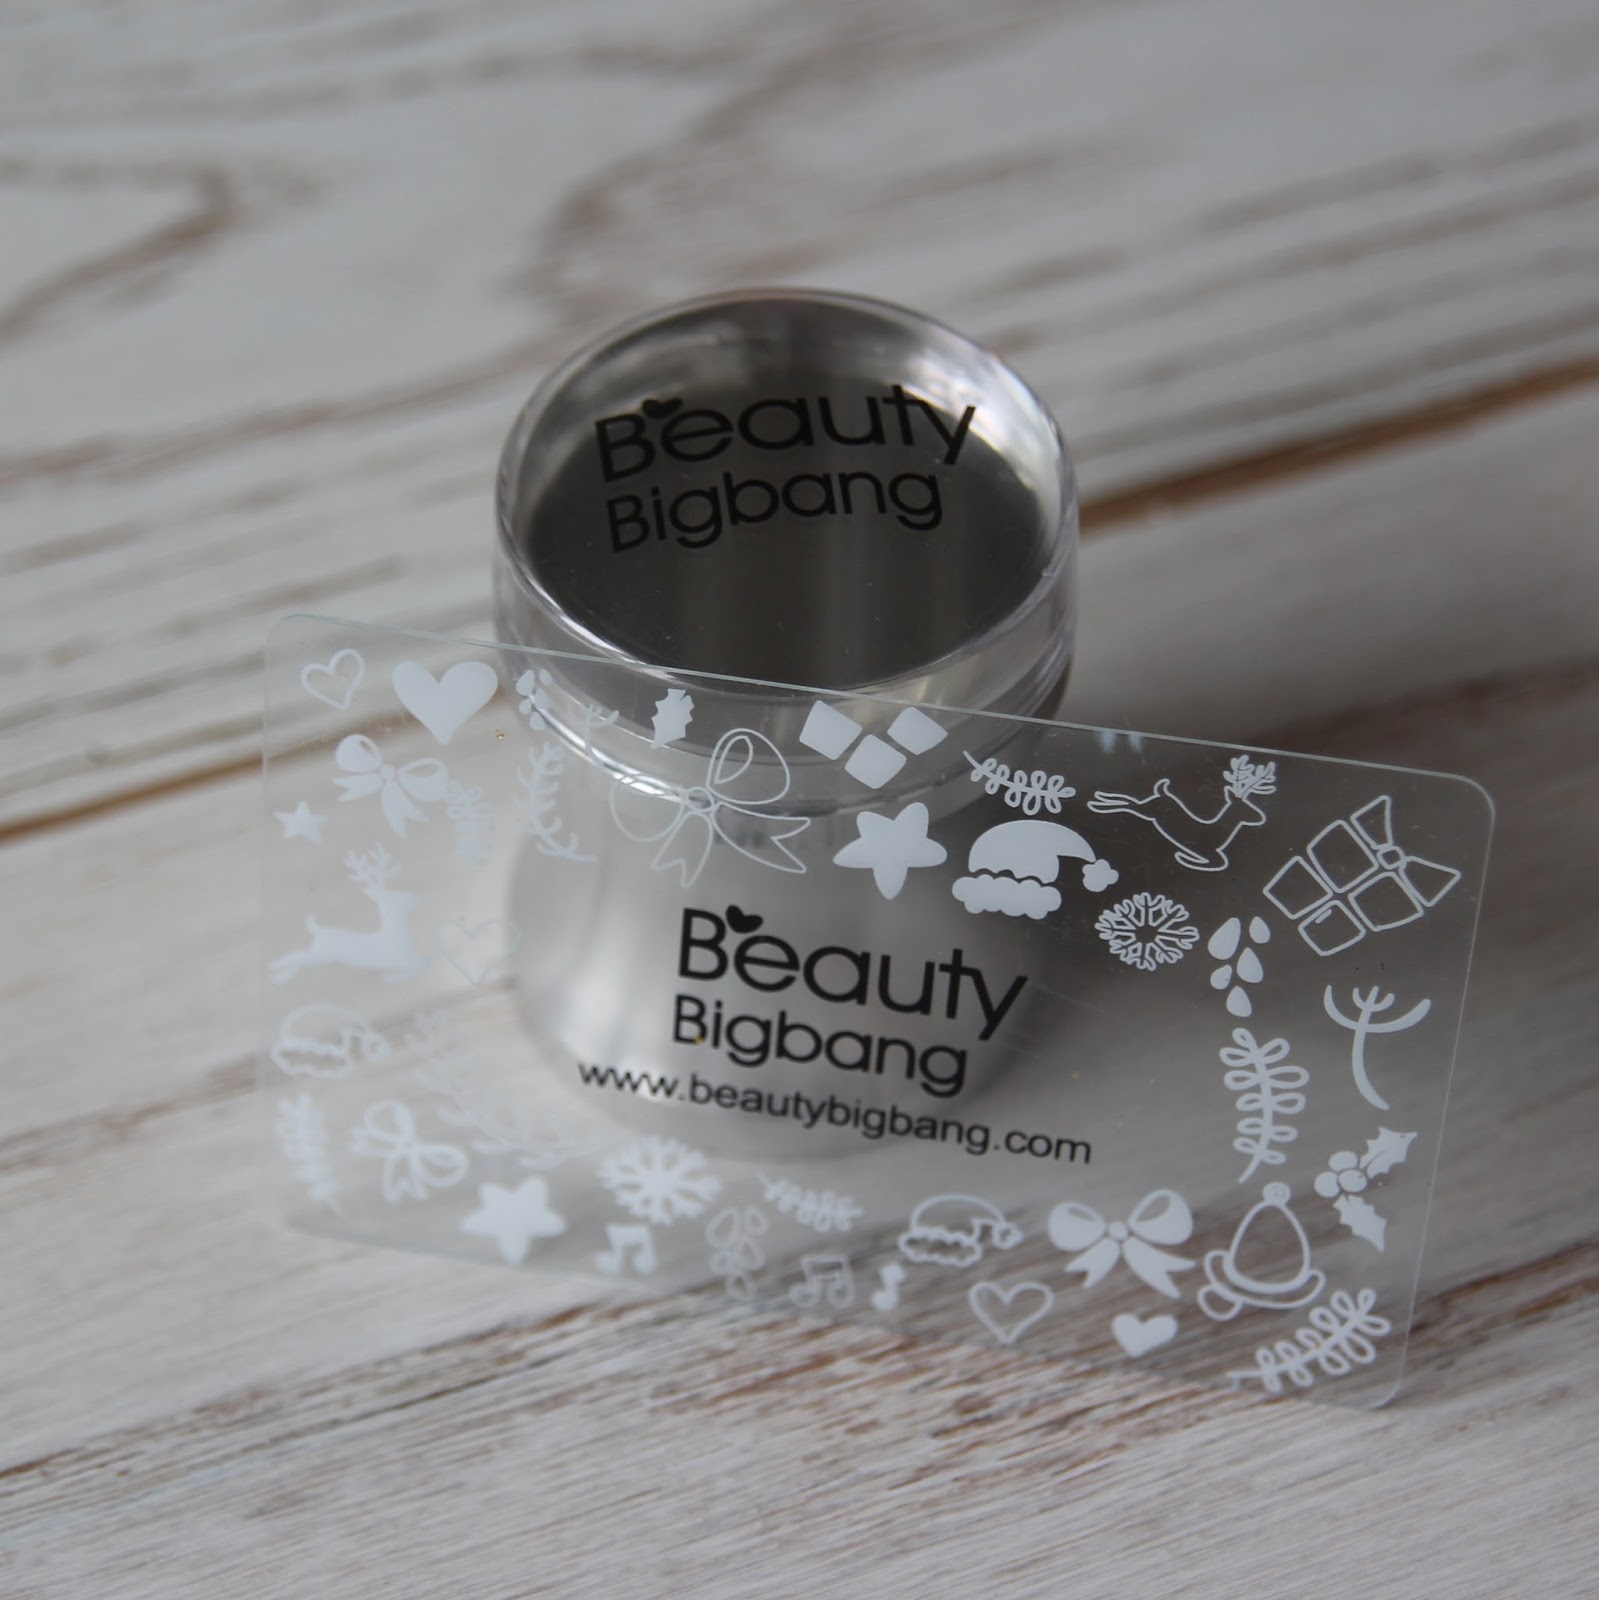
It comes in a nice bag with the scraper that has the brand logo and a nice fesitve design decoration. The scraper is quite thin and flexible.
As you can see from pictures it picks up the images very well and with no effort.
Insieme allo stamper riceverete anche lo scraper (il raschietto usato per togliere l'eccesso di smalto dalla placca), che è trasparente con il logo del negozio e una decorazione natalizia.
Come potete vedere dalle foto traferisce le immagini molto bene e senza particolare sforzo.
You don't have to file it or mattify it with pure acetone otherwise you will make clear head foggy and unclear. If the head became a bit greasy you can wash it with dish soap.
These kind of clear stamper are perfect for advanced or reverse stamping technique.
So that's exactly what I did for this nail art.
It is very easy even if it require a bit of patience
Once you have the design on the stamper head you can apply a non-fast drying top coat over the entire image on the stamper and allow to dry. This will create a base. When it completely dried you can start filling the design with a dotting tool or a thin brush, you can use different colours for a better result.
Non è necessario opacizzalo con acetone, anzi lo sconsiglio in quento renderebbe la parte in plastica opaca e non completamente trasparente. Se avete l'impressione che sia un po' unto potete lavarlo con sapone per i piatti ed asciugarlo attentamente.
Questo tipo di stamper è perfetto per la tecnica di stamping avanzata (o reverse stamping).
Ed è proprio quella che ho effettuato in questa nail art.
E' un processo molto semplice ma richiede un po' di pazienza.
Una volta che avte l'immagine sullo stamper potete applicare uno strato di smalto trasparente fino a coprire l'intera immagine e lasciarla asciugare bene. Questo crearà una base. quanto questo strato è completamente asciutto potrete iniziare a colorare il disegno con un pennello molto fine o uno strumento per dotting. Usate colori differenti per un migliore risultato.
If you turn the stamper you can see the design! This is not possible with normal stamper! It is a big help because you can see in advance how it will turn out on your nail!
Come potete vedere dalla foto, se girate lo stamper potrete vedere l'immagine. Questo non è possibile con un comune stamper di vecchio tipo. Secondo me è di grande aiuto perchè potrete controllare lo stato dell'immagine e capire come sarà sull'unghia.
Using tweezers, gently peel off the image from the stamper. You’ve now created a custom nail decal that you can apply onto your nail with a clear nail polish!
On index and pinky I did a normal stamping with a gold colour.
Usate delle pinzette per staccare l'immagine dallo stamper. Avrete creato uno sticker fatto a mano che potrete applicate sulle vostre unghie con uno smalto trasparente.
Sull'indice e sul mignolo ho fatto uno stamping normale con un color oro.